


OEM Part Number: DTM06-12SB
Product Series: DTM Connector
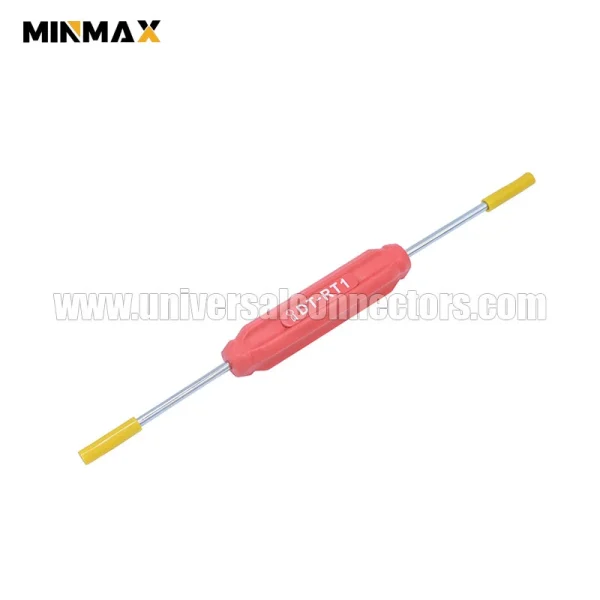
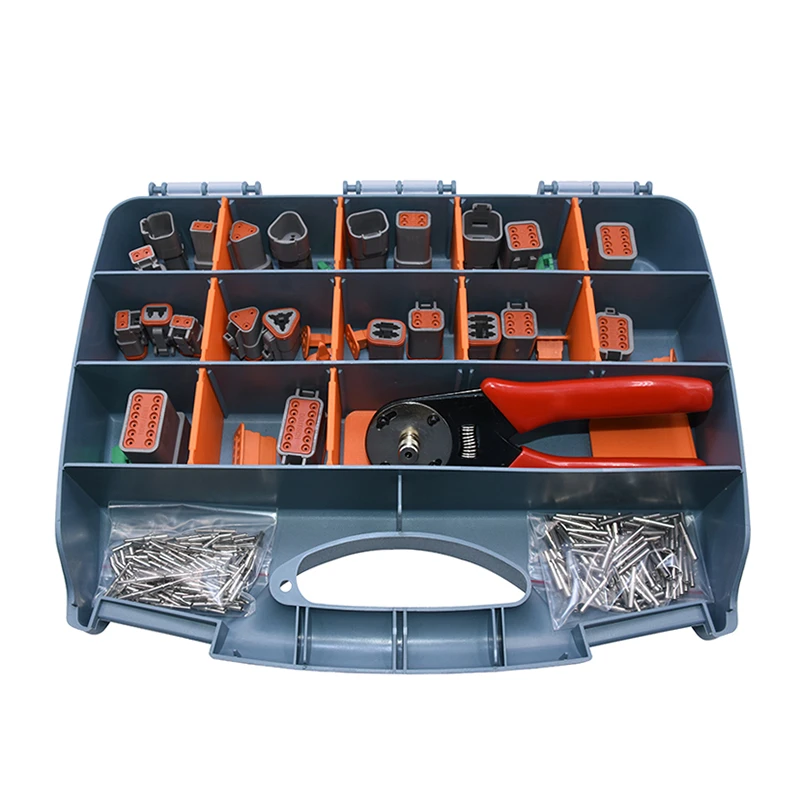
OEM Part Number: DT-RT1
Product Series: Remove Tool
|
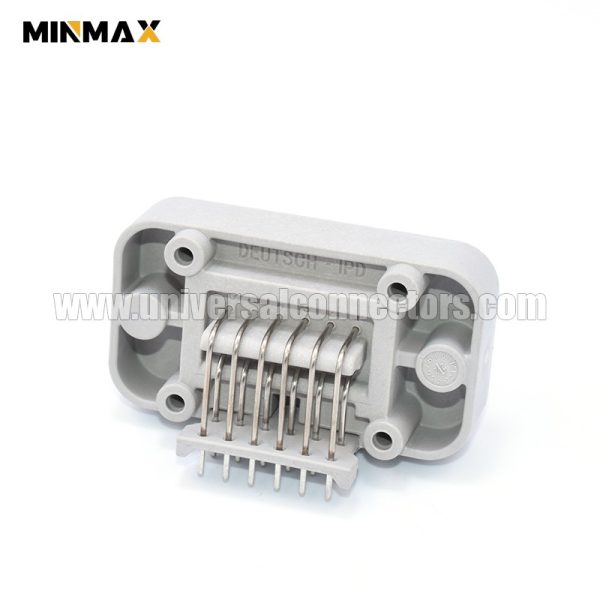
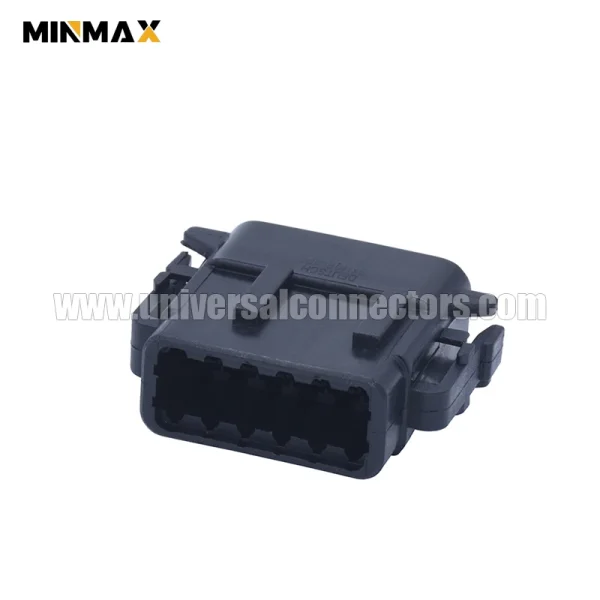
OEM Part Number |
DTM13-12PB-R008 |
|
OEM Series |
DTM13 SERIES |
|
MinMax Part Number |
1150000860 |
|
MinMax Family |
MCS078 |
|
Connection Type |
Wire to Wire, Wire to Board |
|
Number of Positions |
012 |
|
Number of Rows |
2 |
|
Hybrid |
No |
|
Contact Tab Size (mm) |
4.19mm |
|
Male/Female |
Male |
|
Sealable |
Yes |
|
Body Color |
Black |
|
Housing Material |
PBT-GF30 |
|
Nominal Voltage Architecture (V) |
12,24 |
|
Operating Temperature Range |
–55℃~125℃ |
|
Certification |
ISO9001, RoHS, REACH, TS16949 |
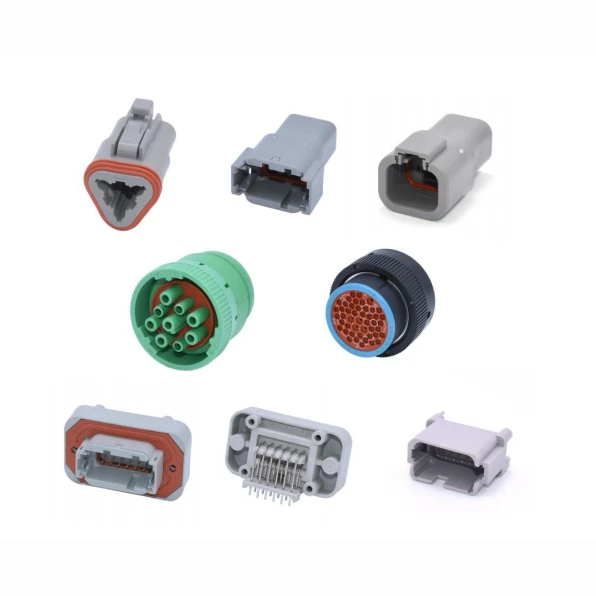
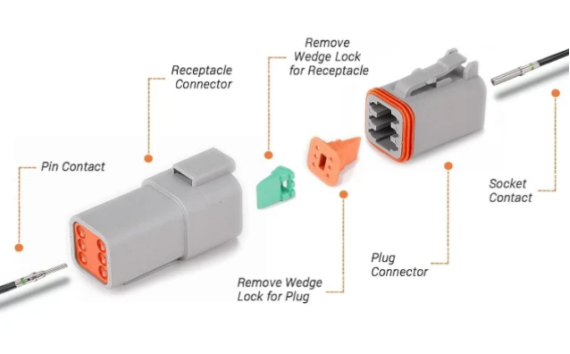
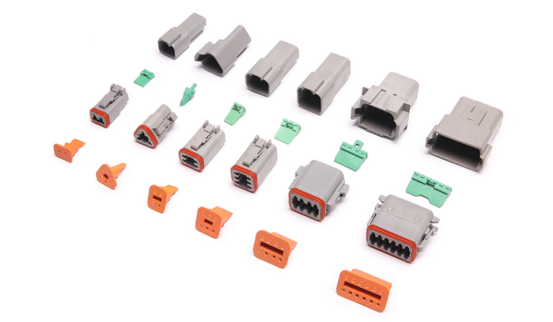
DTM13 Series is designed specifically for cable-to-cable connection scenarios, capable of providing stable and reliable waterproof connection performance in various complex environments. It has a wide range of applications, covering various harsh application scenarios such as engines, transmissions, chassis, under the hood, and cabs, ensuring connection stability and safety under different working conditions.
✔Diverse Mounting Options: Supports in-line, flange, and PCB mount, which can flexibly adapt to different equipment installation needs.
✔Rich Pin Configurations: Offers various pin layouts including 2, 3, 4, 6, 8, and 12 cavities, meeting the connection needs of different numbers of cables.
✔High Current Capacity: Each contact can carry 13A current when paired with 16-gauge wires, ensuring efficient and stable power transmission.
✔Easy Installation Design: The optimized structural design effectively reduces assembly time, improves installation efficiency, and lowers labor costs.
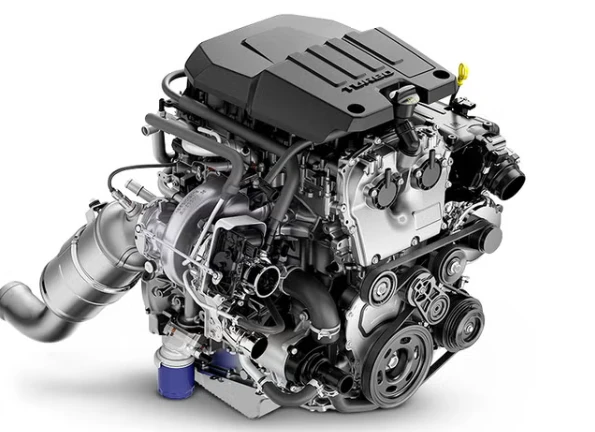
On the Engine
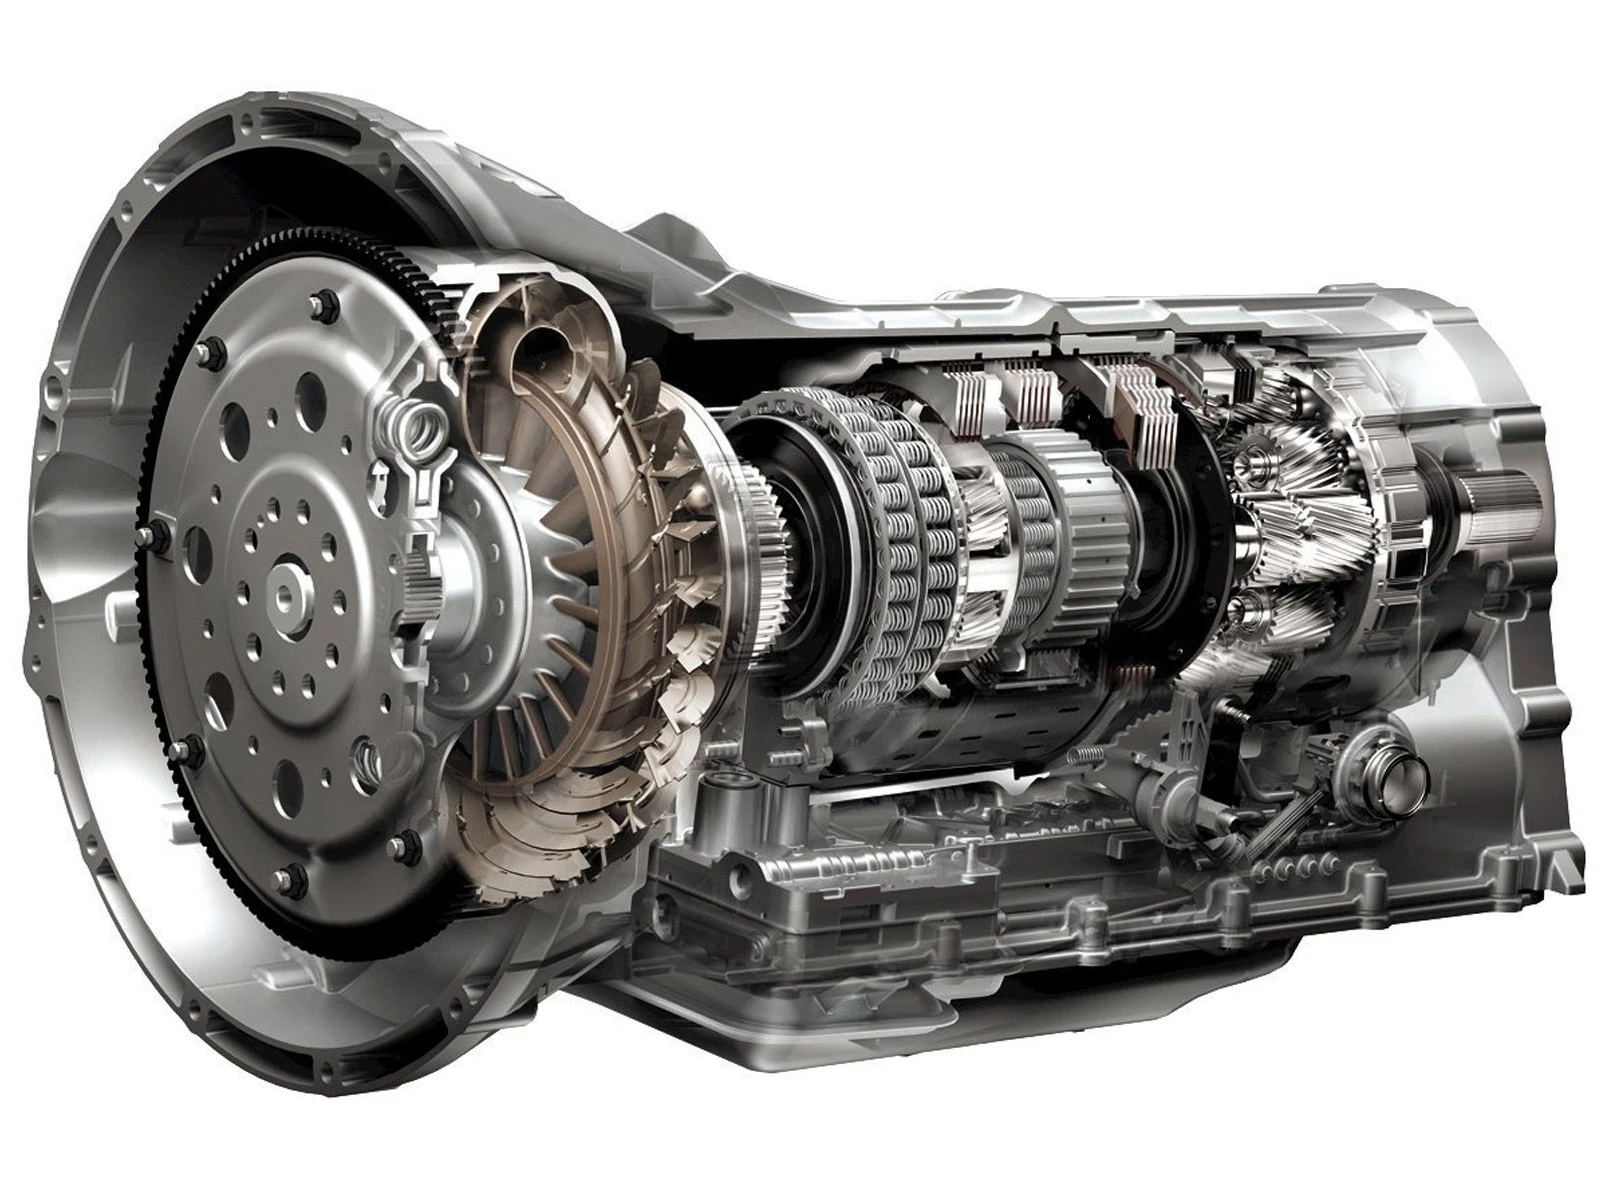
On the transmission
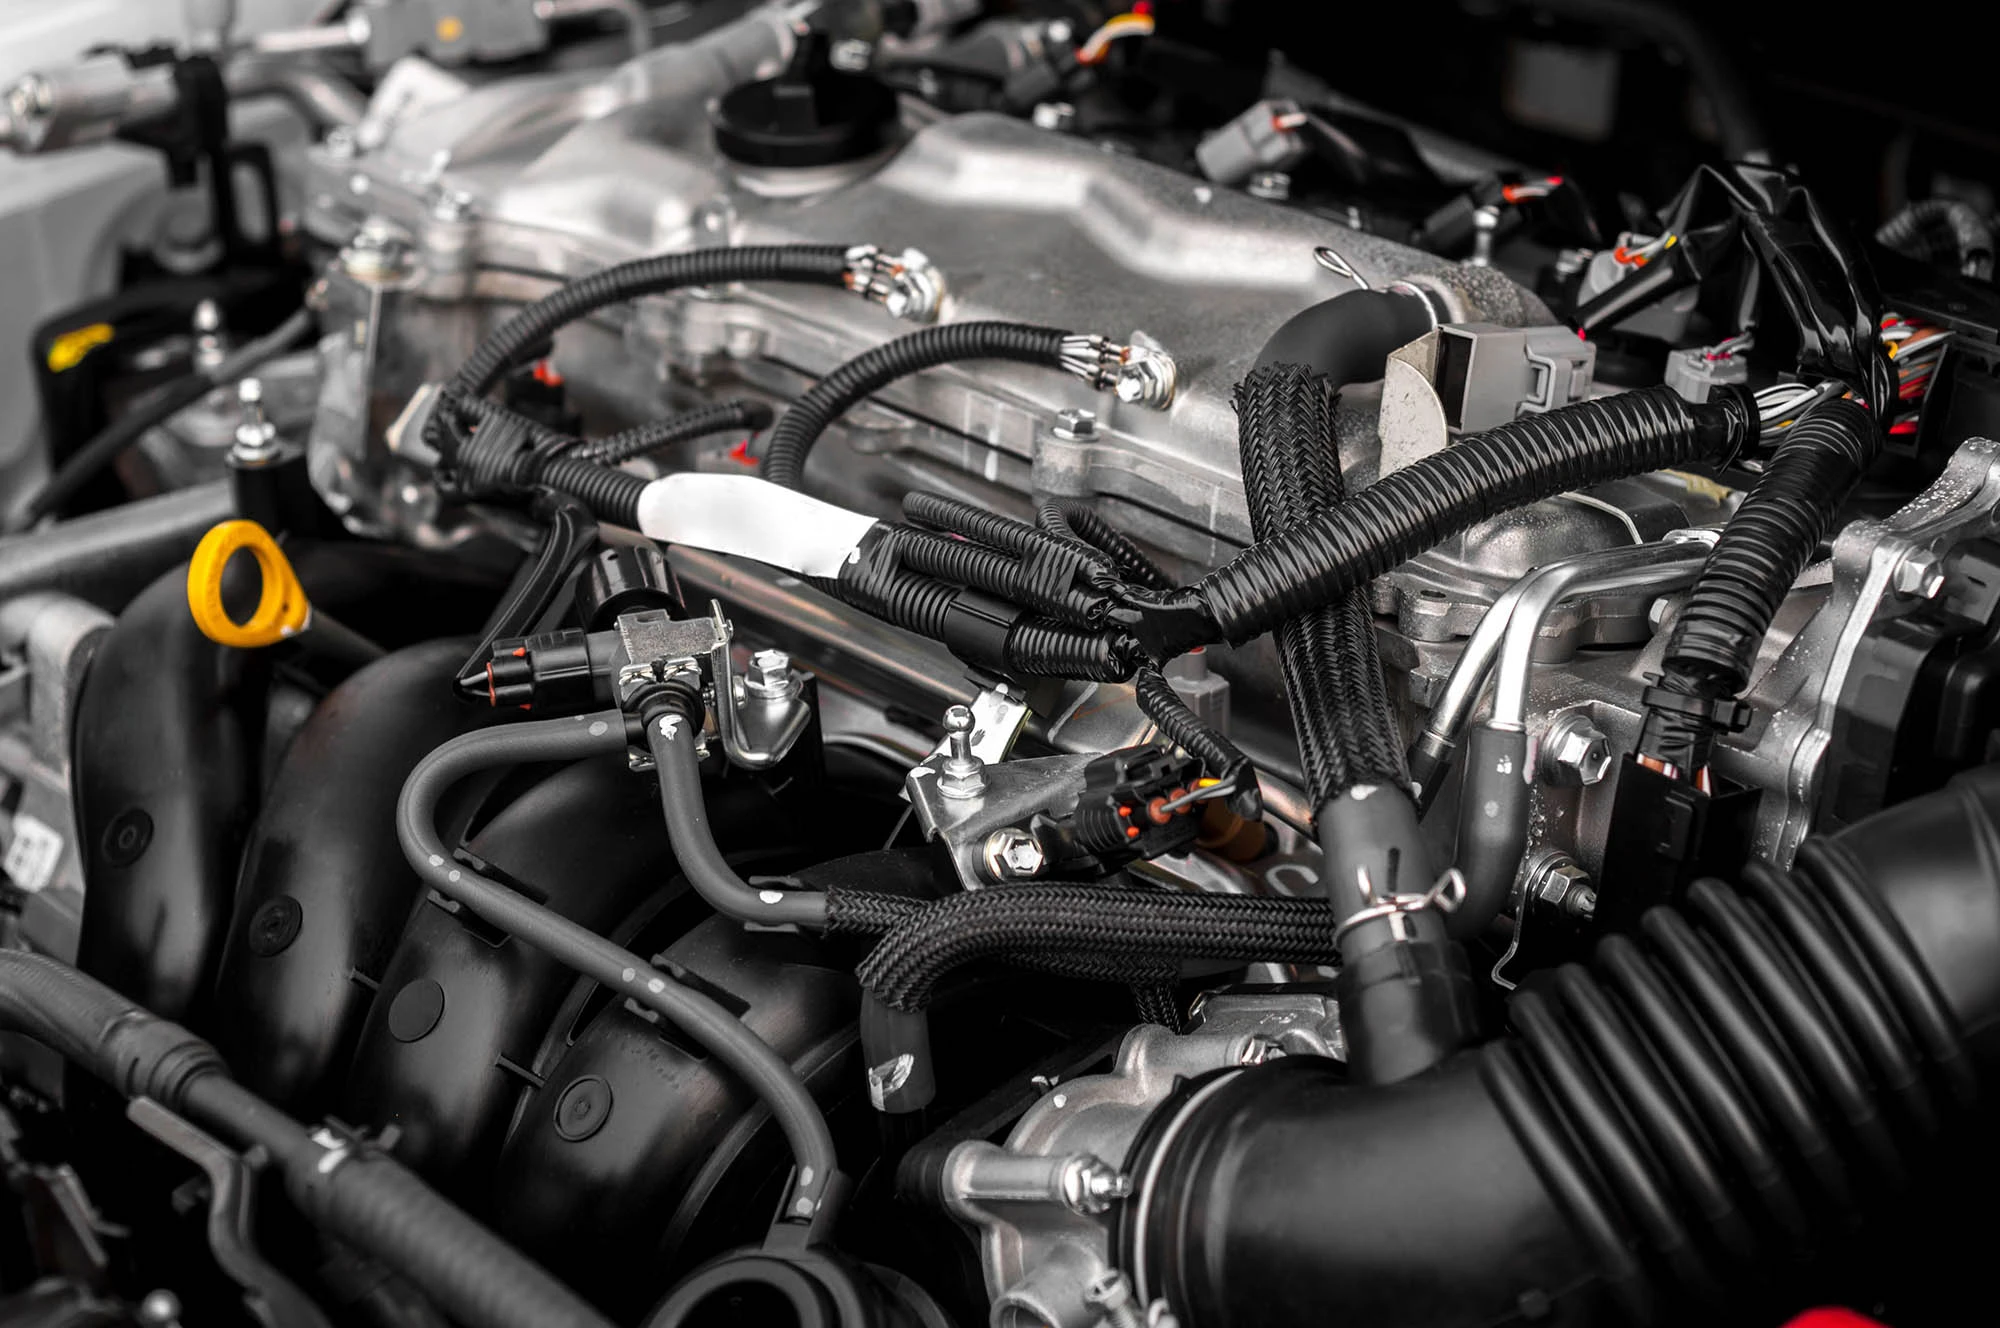
Automotive Under the Hood
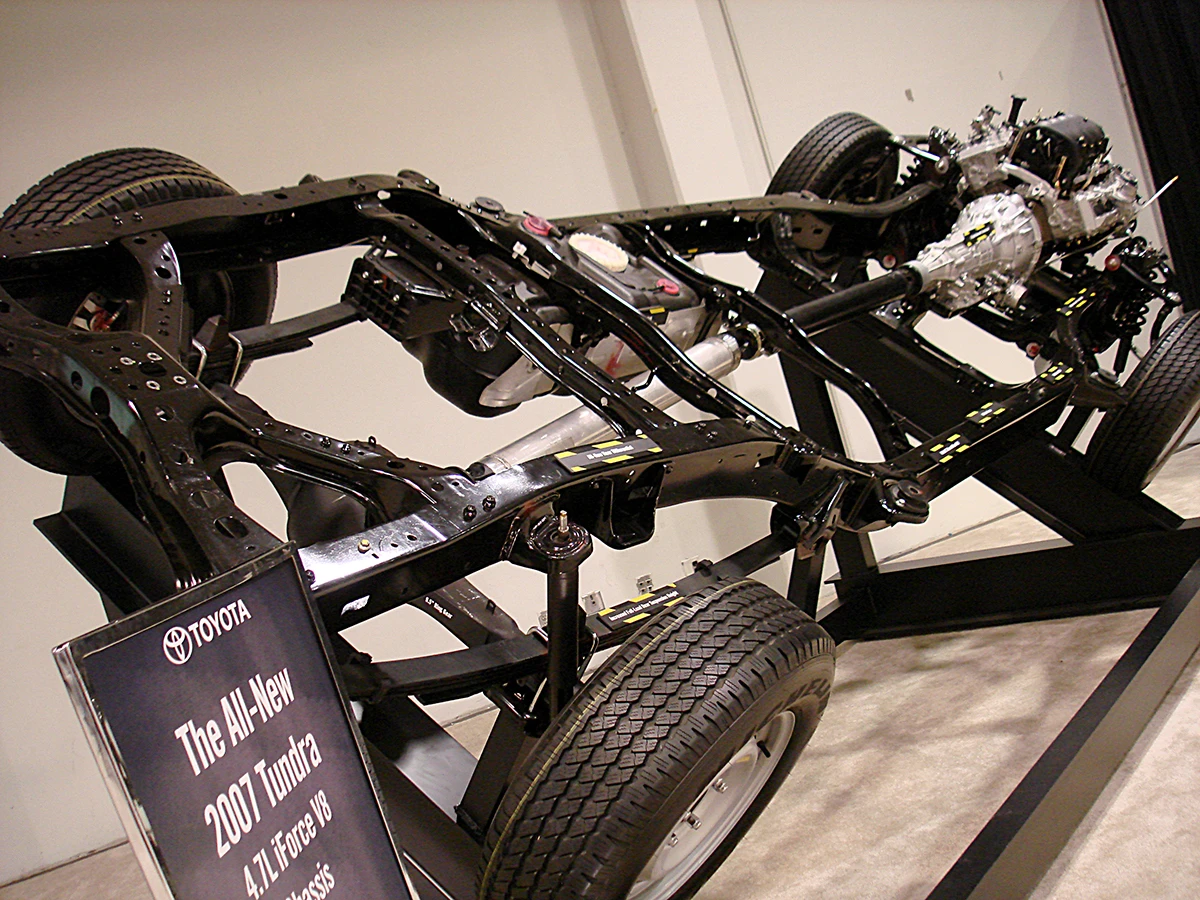
On the Chassis
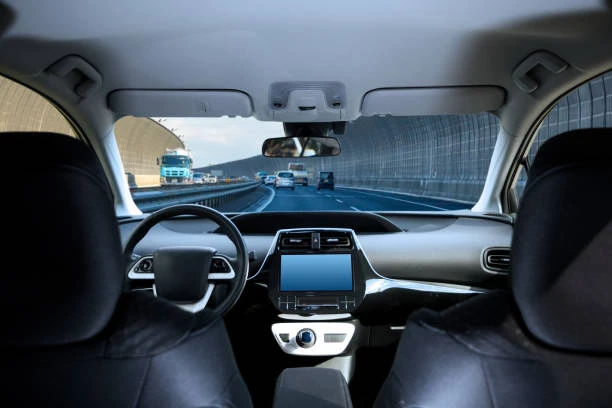
In the Cab

in the heavy duty
EDM Mirror Processing
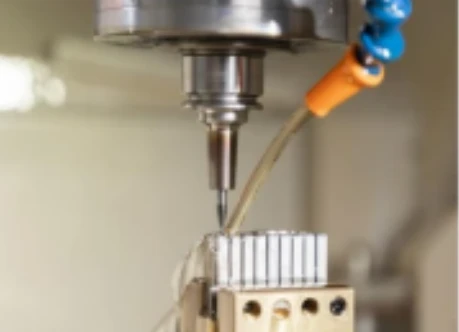
EDM Parts
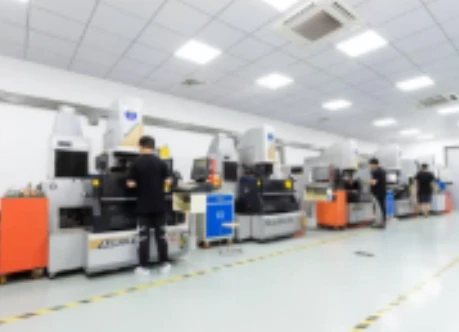
Slow-feeding wire cut machine
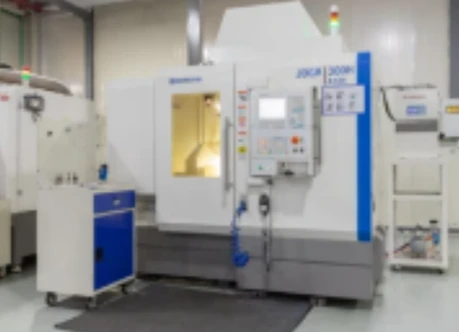
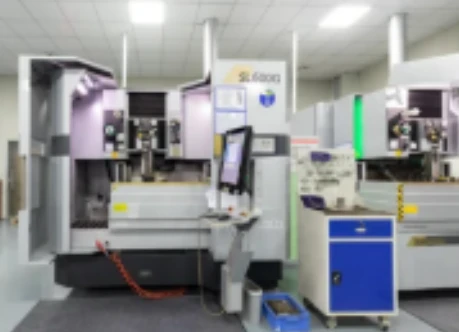
CNC Machine
Plastic Injection Machine
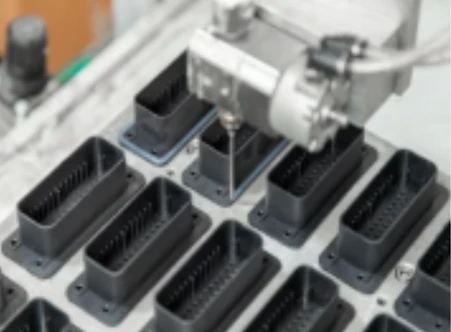
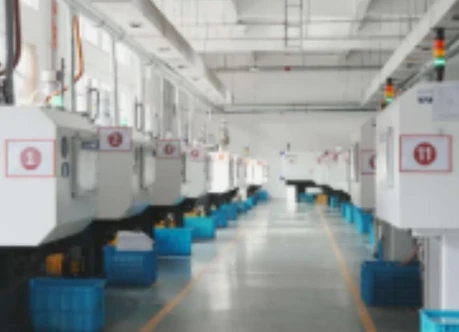
Automatic production Line
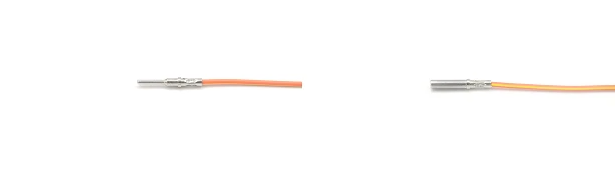
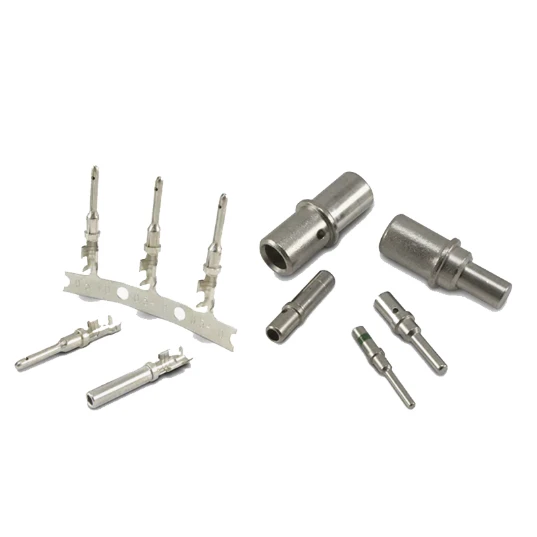
Step 1 Crimp the terminal and do the pull-out test to make sure the crimpings are completed
step 2 Crimping terminal and matched connector

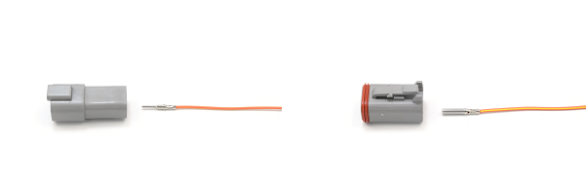
Step 3 Insert the terminal to the connectors
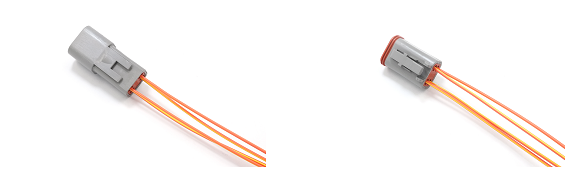
Step 4 finished the connecting.