


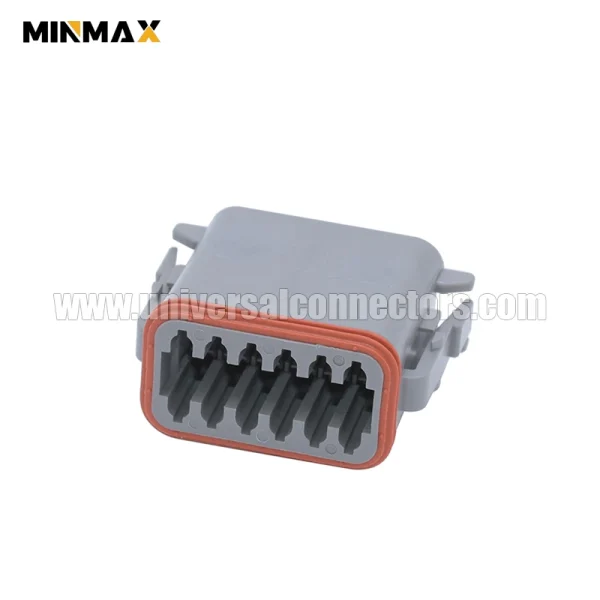
OEM Part Number: DT06-12SA
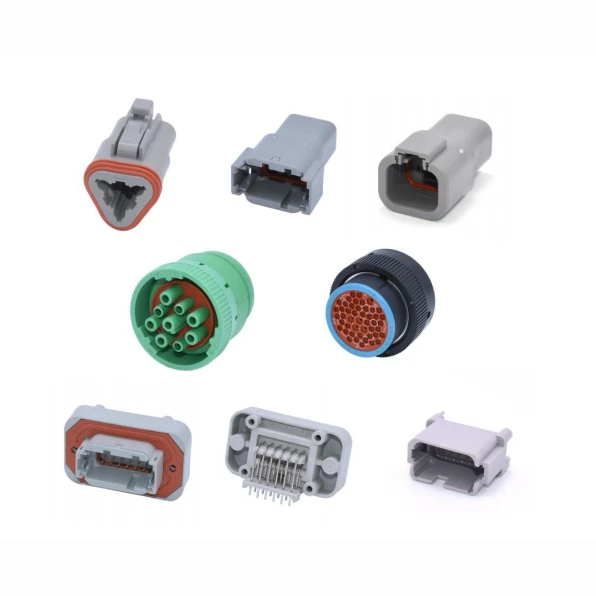
Product Series: DT Connector
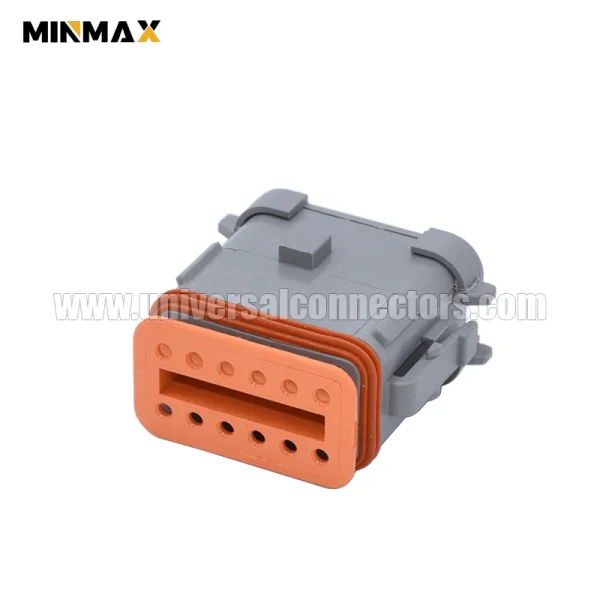
OEM Part Number: DT06-12SA-CE05
Product Series: DT Connector
OEM Part Number: DT06-12SA-E005
Product Series: DT Connector
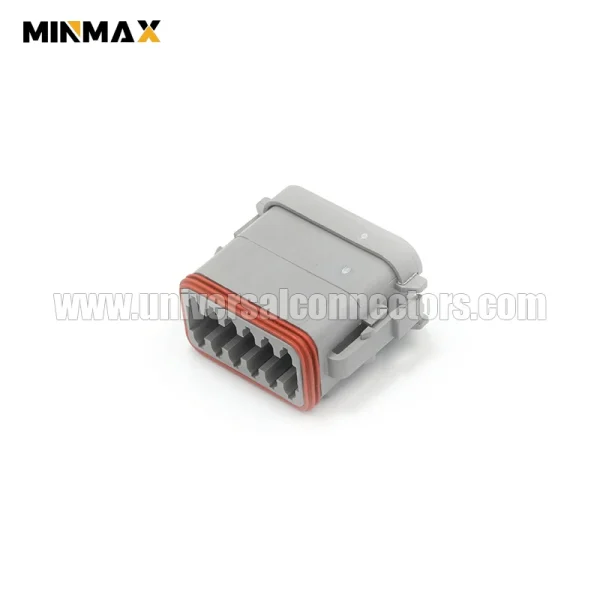
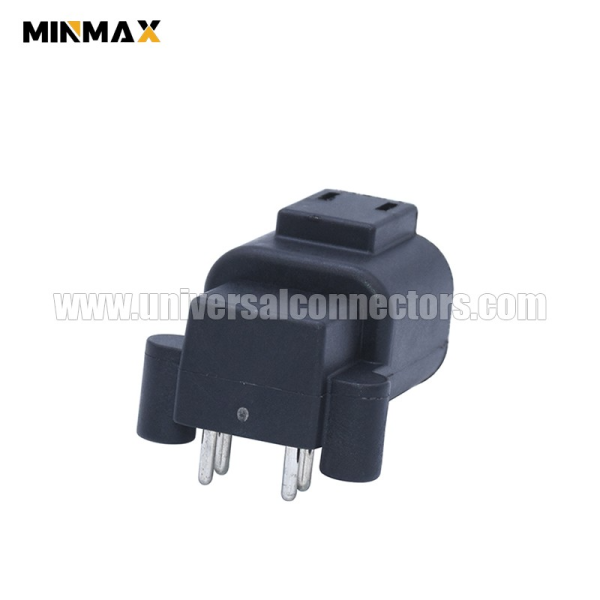
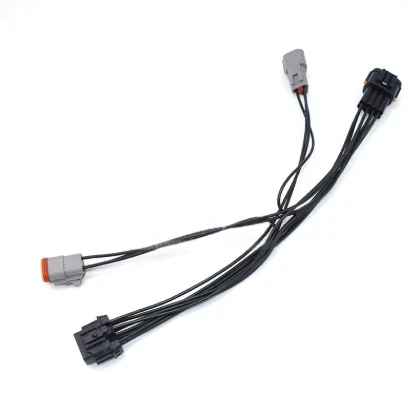
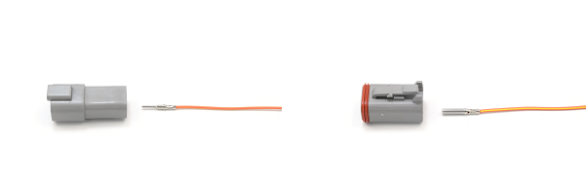
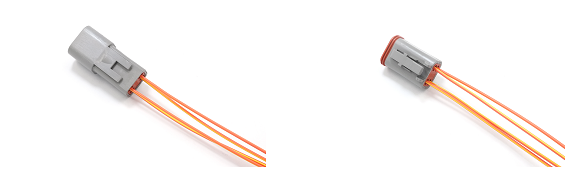
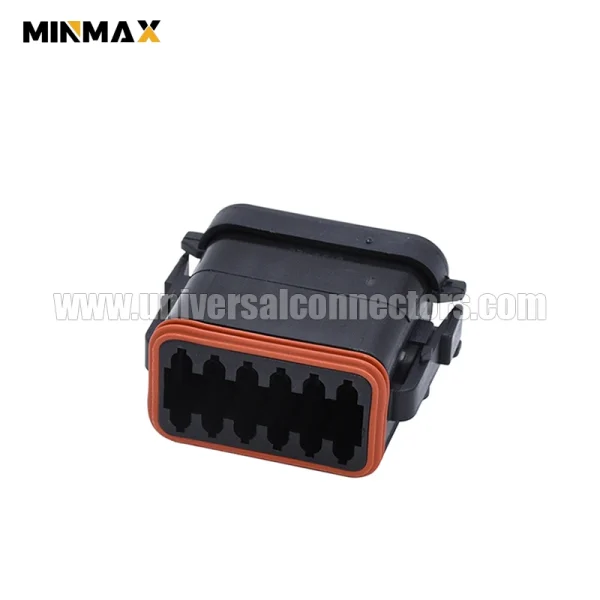
DT06-12SA-E003 AT06-12SA-EC01 Female 12 Pins In-Line Free Hanging black Grain harvester DT connector
DT06-12SA-E003 AT06-12SA-EC01 Female 12 Pins In-Line Free Hanging black Grain harvester DT connector
OEM Part Number: DT06-12SA-E003
Product Series: DT Connector