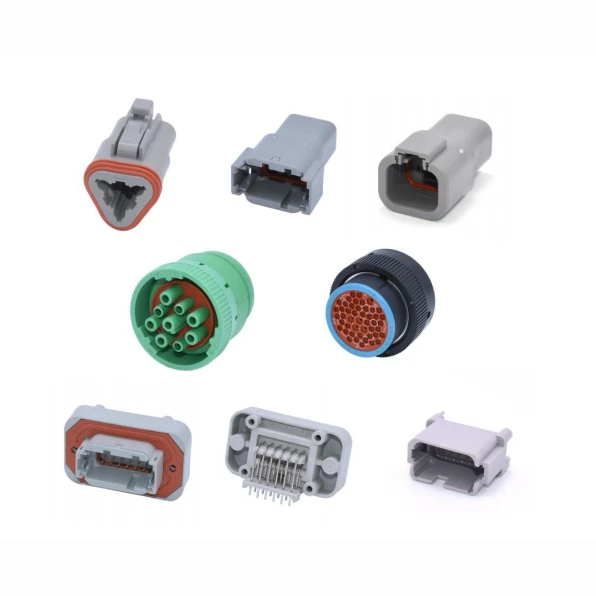


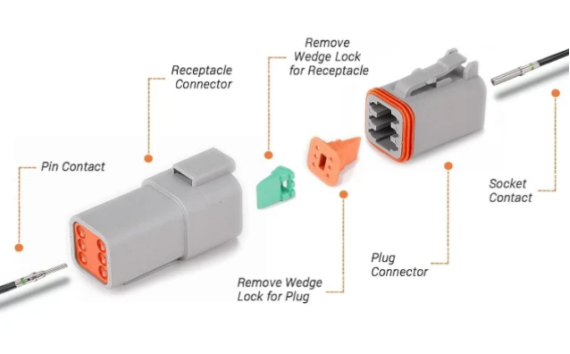
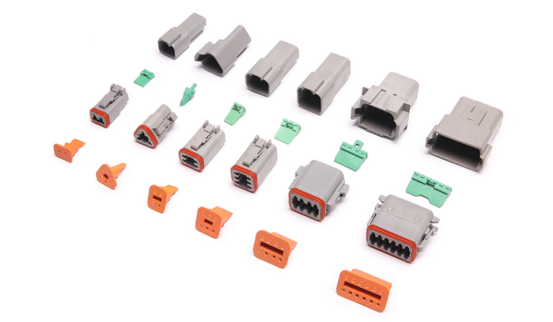


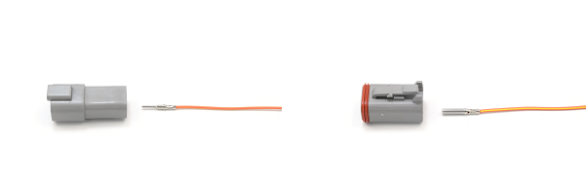

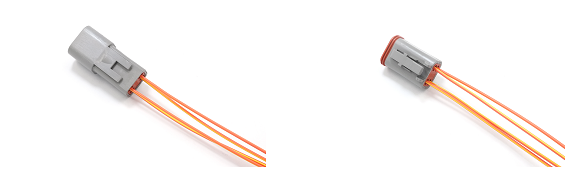
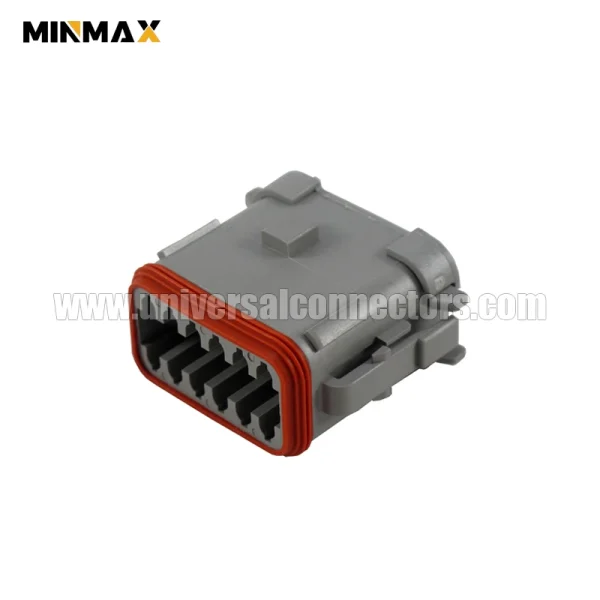
OEM Part Number: DT06-12SA-EP06
Product Series: DT Connector
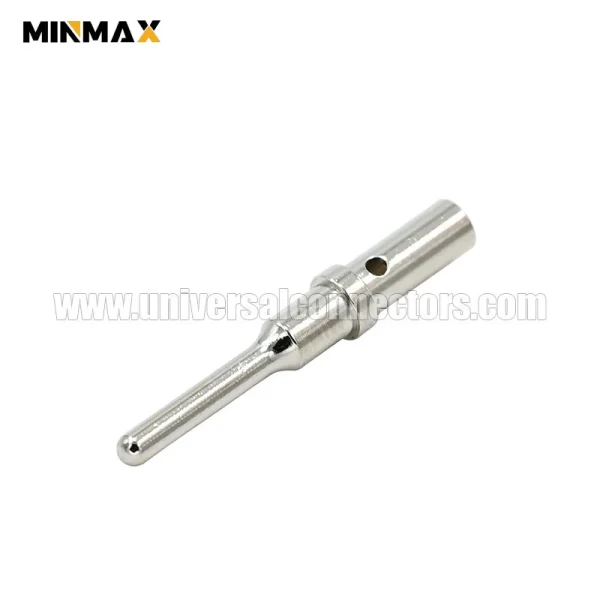
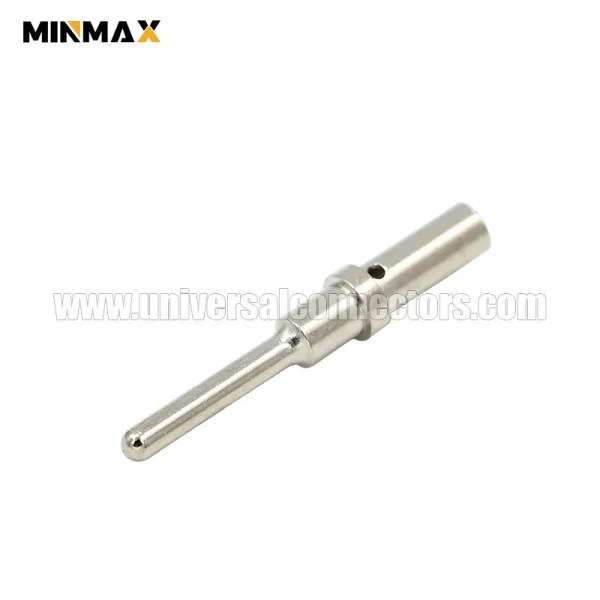
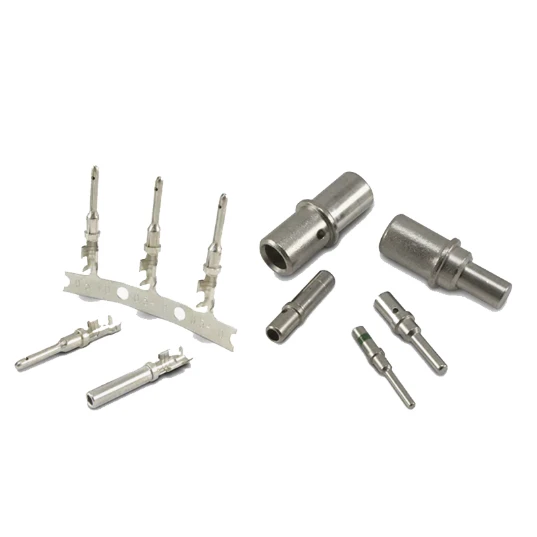
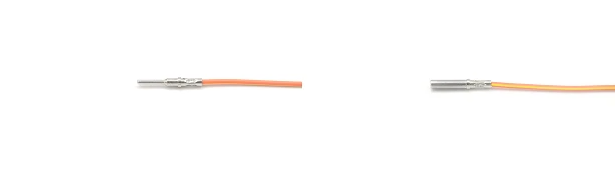
0460-202-16141 Male Solid Contact 0.5mm² – 1.5mm² 20AWG – 16AWG No soldering is required for ECU,BCM
0460-202-16141 Male Solid Contact 0.5mm² – 1.5mm² 20AWG – 16AWG No soldering is required for ECU,BCM
OEM Part Number: 0460-202-16141
Product Series: DT Contact

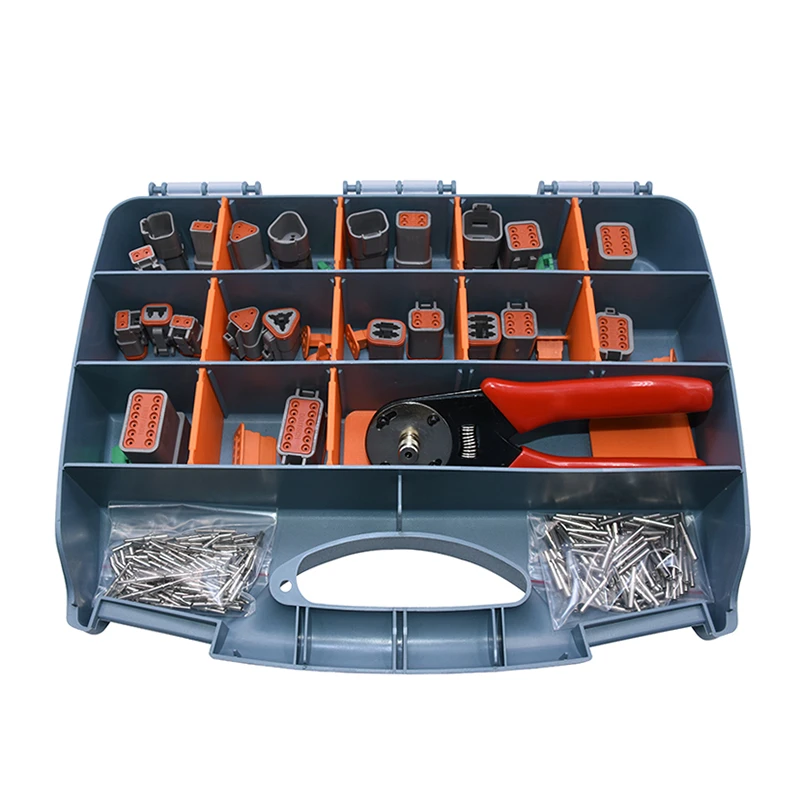
OEM Part Number: DT TOOL
Product Series: Crimping Tool
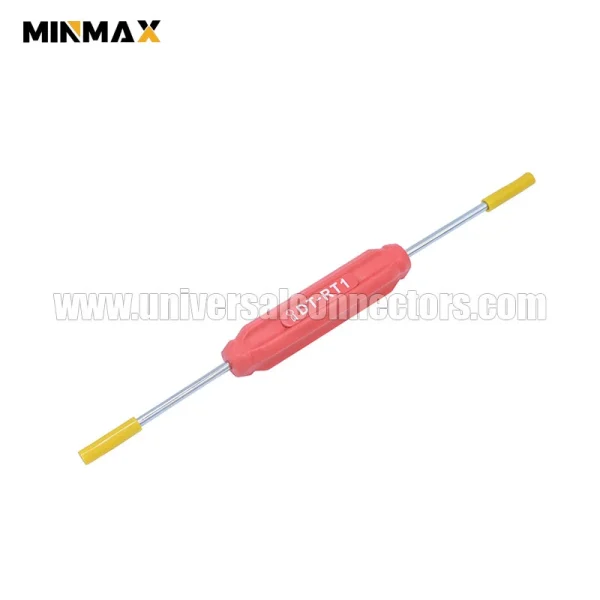
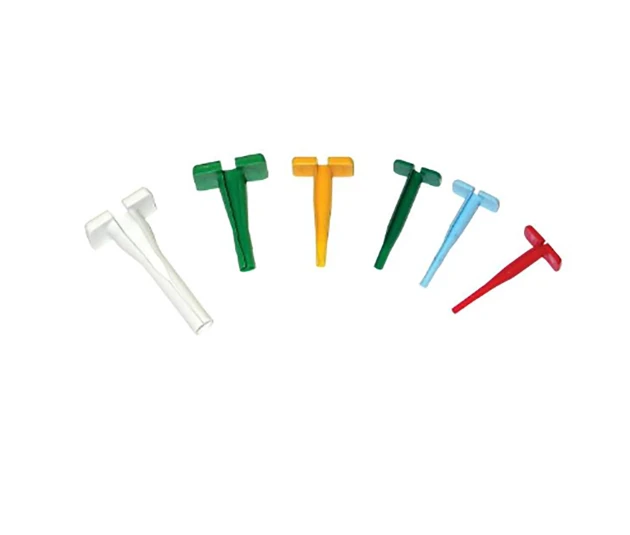
OEM Part Number: DT-RT1
Product Series: Remove Tool
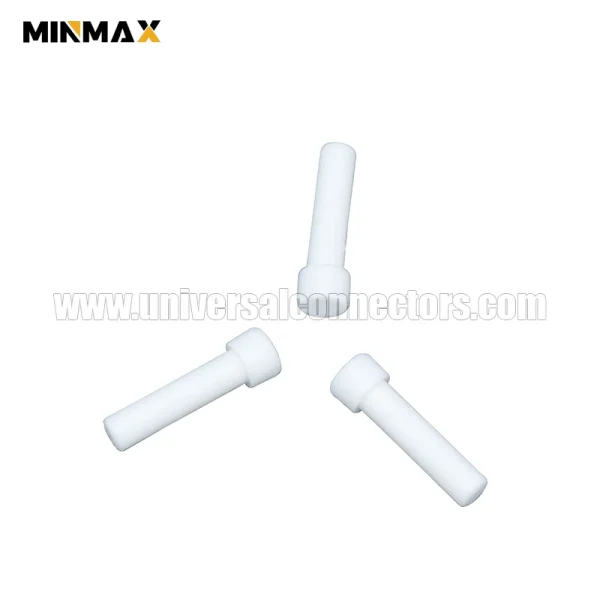
OEM Part Number: 114017-ZZ
Product Series: Seal Plug