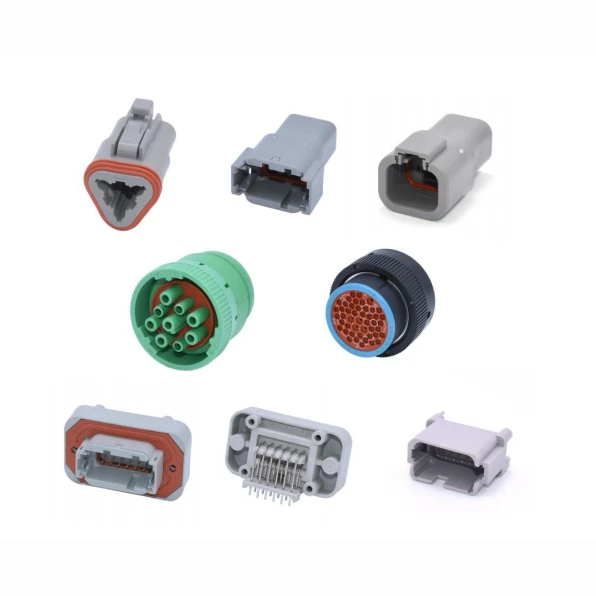


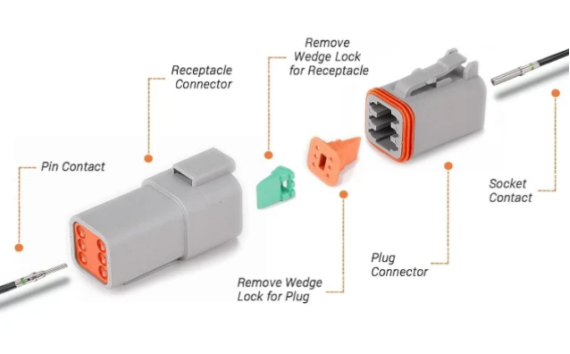
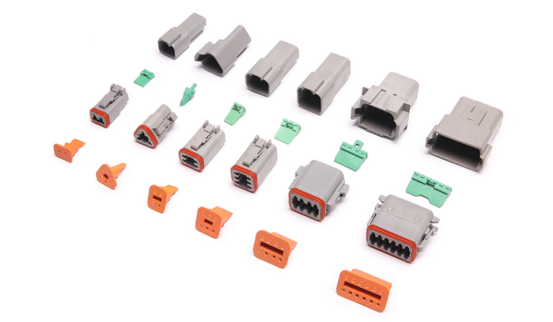


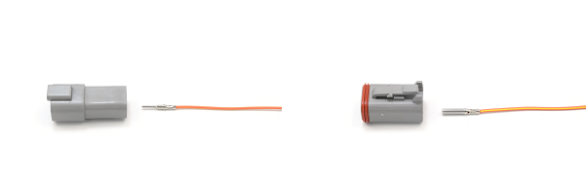

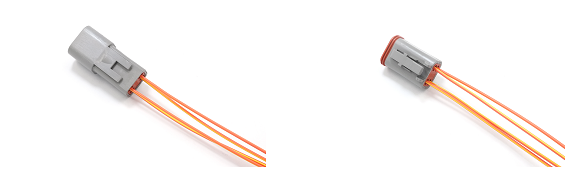
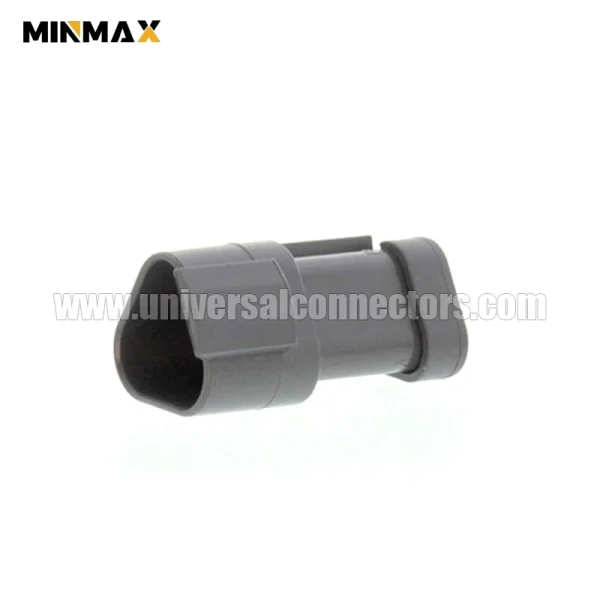
OEM Part Number: DT04-3P-CE03
Product Series: DT Connector
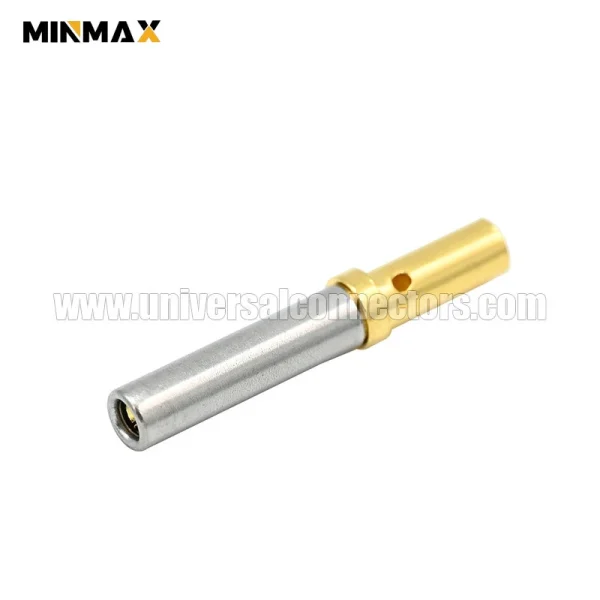
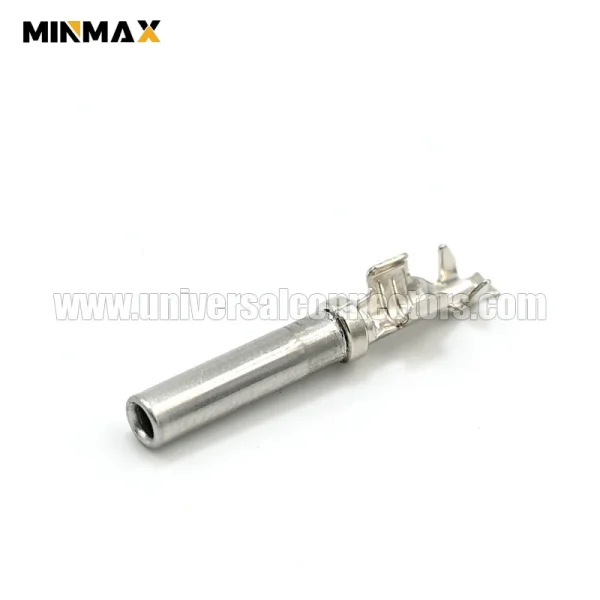
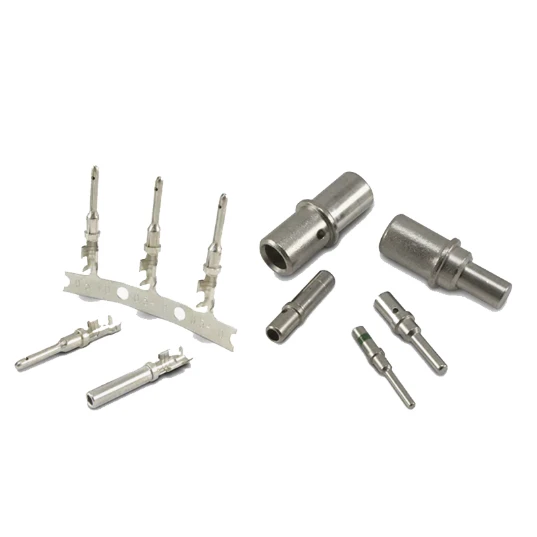
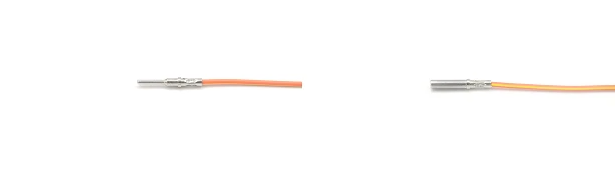
OEM Part Number: 0462-209-1631
Product Series: DT Contact
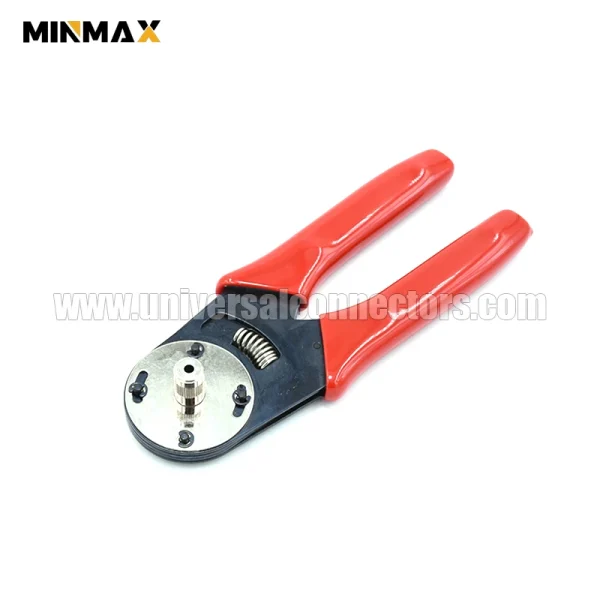
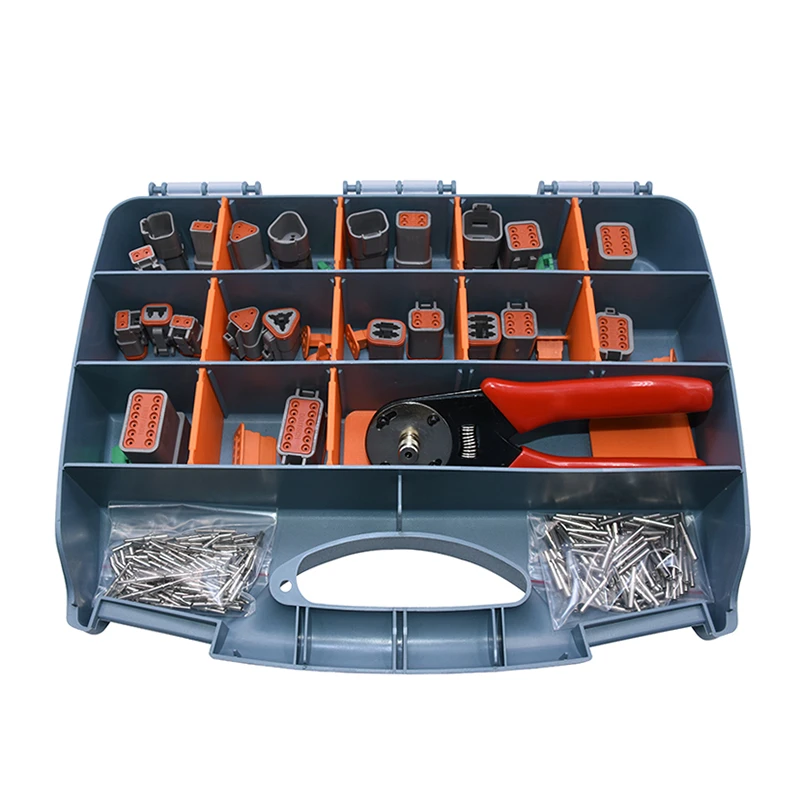
OEM Part Number: DT TOOL
Product Series: Crimping Tool
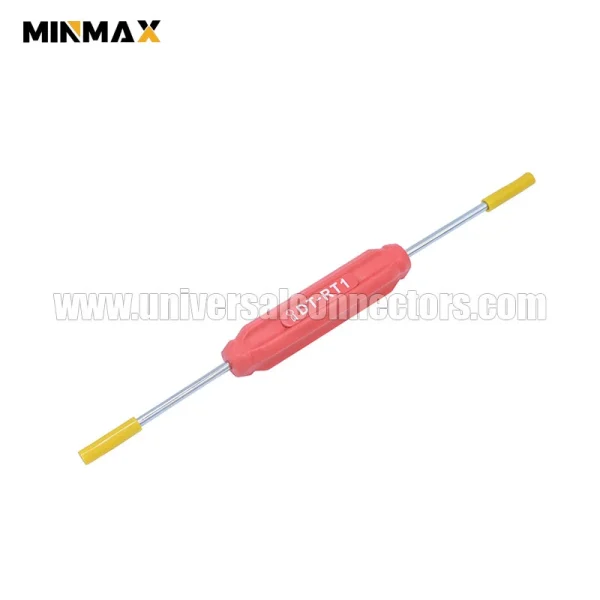
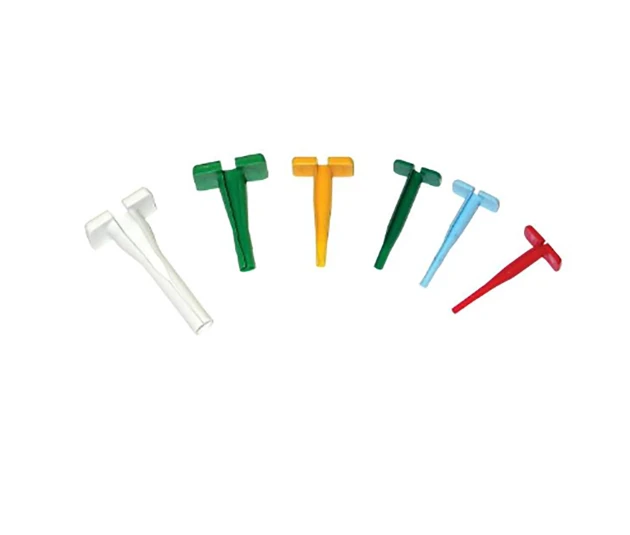
OEM Part Number: DT-RT1
Product Series: Remove Tool
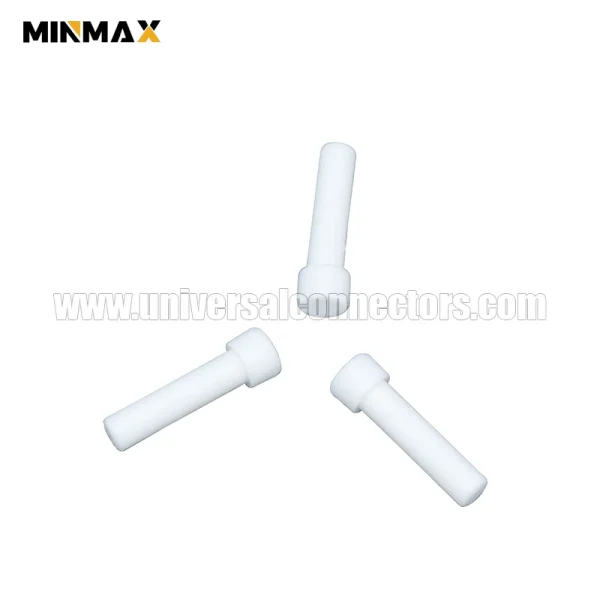
OEM Part Number: 114017-ZZ
Product Series: Seal Plug