
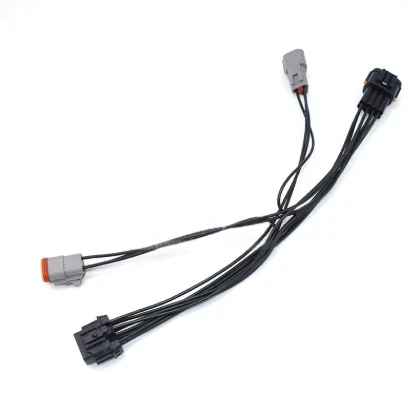

Push-in connectors are increasingly popular in automotive applications due to their quick installation. However, many DIY enthusiasts and technicians find removing wires from them challenging. Forcing it can damage the connector, the wire, or even cause injury.
As a professional manufacturer of automotive connectors, MINMAX is here to guide you through the correct, safe method.
Why is it So Tricky? The Inside Story
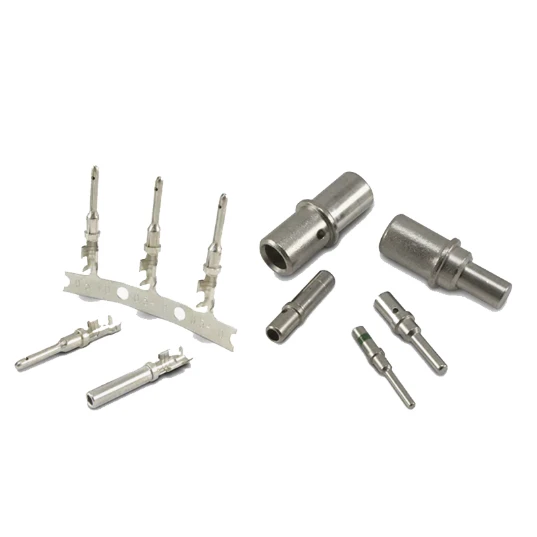
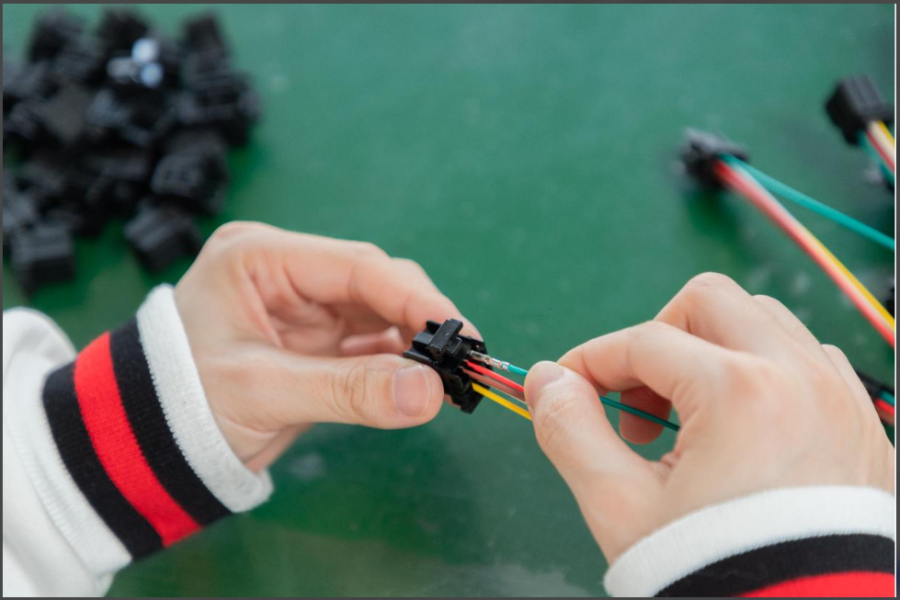
Understanding the mechanism is the first step to safe removal. Inside the connector slot, there is a spring-loaded metal clip or a locking barb. When you insert the wire, this clip grips it tightly to ensure a secure electrical and mechanical connection. Simply pulling on the wire won’t release this grip.
At MINMAX, we design our connectors for both reliability and serviceability. Knowing how they work is key to maintaining them.
The Right Tool for the Job
DO NOT use needles, SIM ejector tools, or sharp picks. They are often too weak, too thick, or too sharp and can easily break inside the connector or damage the release mechanism.
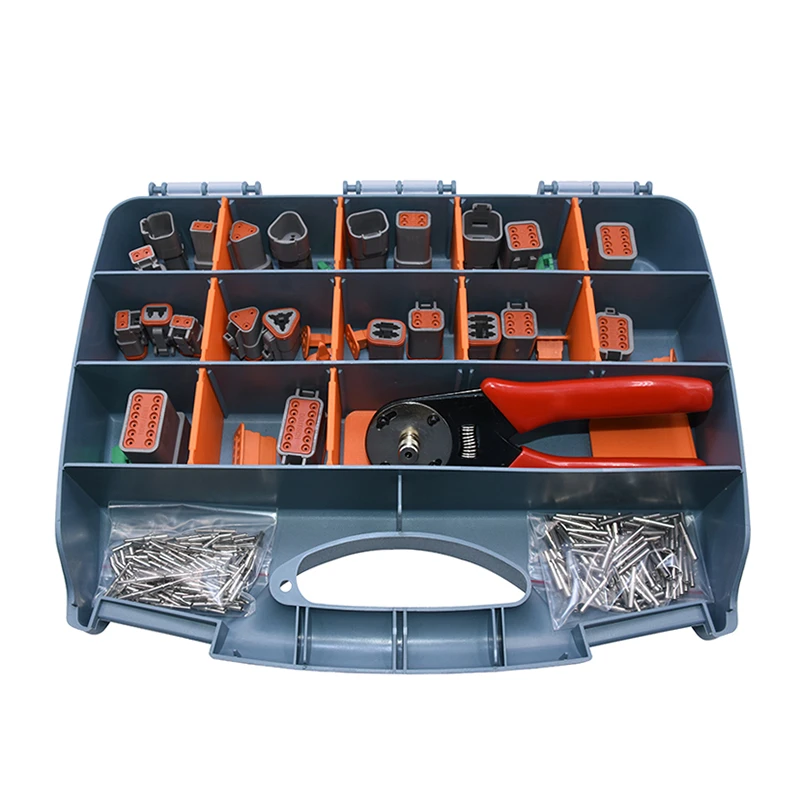
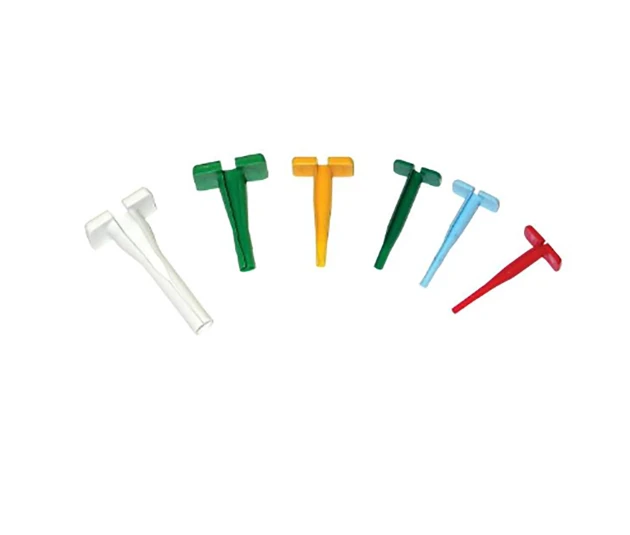
DO USE a dedicated Release Tool or a small, sturdy flat-head screwdriver (typically 1.5mm – 2.0mm). Many professional connector kits, like some from our MINMAX range, include this essential tool.
Professional Tip from Our Factory: A proper release tool is designed to apply precise force in the right direction without harming the connector housing.
Step-by-Step Removal Guide
Power Off & Safety First: Always disconnect the battery before working on any automotive electrical system.
Locate the Release Slot: Carefully examine the connector. You will find a small, square release slot next to the wire insertion hole. This is where the internal locking clip is accessed.
Insert the Tool: Firmly insert your release tool or small screwdriver straight into this slot. You should feel it push against the spring mechanism.
Apply Pressure and Pull: While pressing the tool firmly inwards towards the center of the connector, gently but steadily pull the wire straight out. The pressing action retracts the locking clip, freeing the wire.
Inspect: Once the wire is out, check both the wire conductor (for nicks or bends) and the connector slot for any damage before re-use.
Troubleshooting Common Issues
“The wire won’t budge!” You are likely not pushing the release tool deep enough to disengage the lock. Re-insert the tool and apply more firm, direct pressure.
“The tool doesn’t fit.” Ensure you are using a tool small enough. Forcing a tool that is too large will break the plastic housing.
“The connector is broken now.” This is often the result of using excessive force or an improper tool, which can crack the housing or break the internal latch.
Why Connector Quality Matters for Serviceability
A common pain point with low-quality connectors is that their release mechanisms are fragile and prone to failure, making wire removal nearly impossible. This leads to wasted time and damaged components.
At MINMAX, we engineer our automotive connectors with precision:
Durable Materials: Our housings can withstand the force of a proper release tool without cracking.
Precision-Formed Internal Components: The spring clips are designed for thousands of reliable insertion and release cycles.
Clear, Accessible Design: The release slots are accurately molded for easy tool access.
When you use reliable connectors, maintenance and circuit modifications become simple and frustration-free.
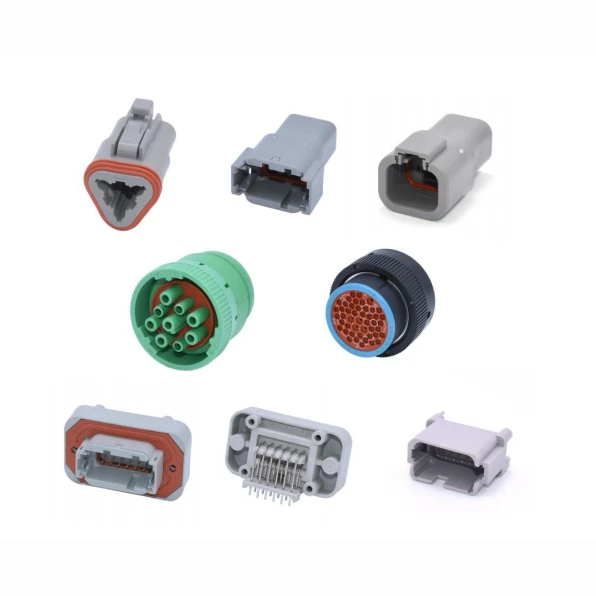
Need Professional-Grade Connectors?
Explore MINMAX’s range of push-in connectors and professional tooling kits, designed for durability, safety, and ease of use. [Contact us today] to find the perfect solution for your automotive wiring needs.